Are you ready to unlock the power of remote IoT monitoring on your Mac without spending a penny? The ability to securely access and manage your Internet of Things devices from anywhere is now a reality, and it's more accessible than ever.
Technology marches forward at an unrelenting pace. The need to maintain a constant connection to your IoT devices, regardless of physical location, has become paramount. Whether you're a seasoned tech professional or just embarking on your journey into the world of connected devices, understanding how to remotely monitor and manage them is crucial. This article is your comprehensive guide to mastering remote IoT monitoring using Secure Shell (SSH) on your Mac, ensuring a secure and efficient experience.
Before diving into the specifics, let's address the core question: Why is SSH the preferred protocol for remote IoT monitoring? SSH, or Secure Shell, is a cryptographic network protocol designed to establish secure communication channels between devices over an unsecured network. This inherently provides numerous advantages when it comes to managing and monitoring your IoT devices from a distance. Its ability to encrypt all data transmitted, including user authentication, makes it ideal for ensuring that sensitive information remains protected from unauthorized access.
- Iqvia Layoffs 2025 What You Need To Know And How To Navigate The Storm
- Iot Visualization Unlocking The Power Of Data In The Modern World
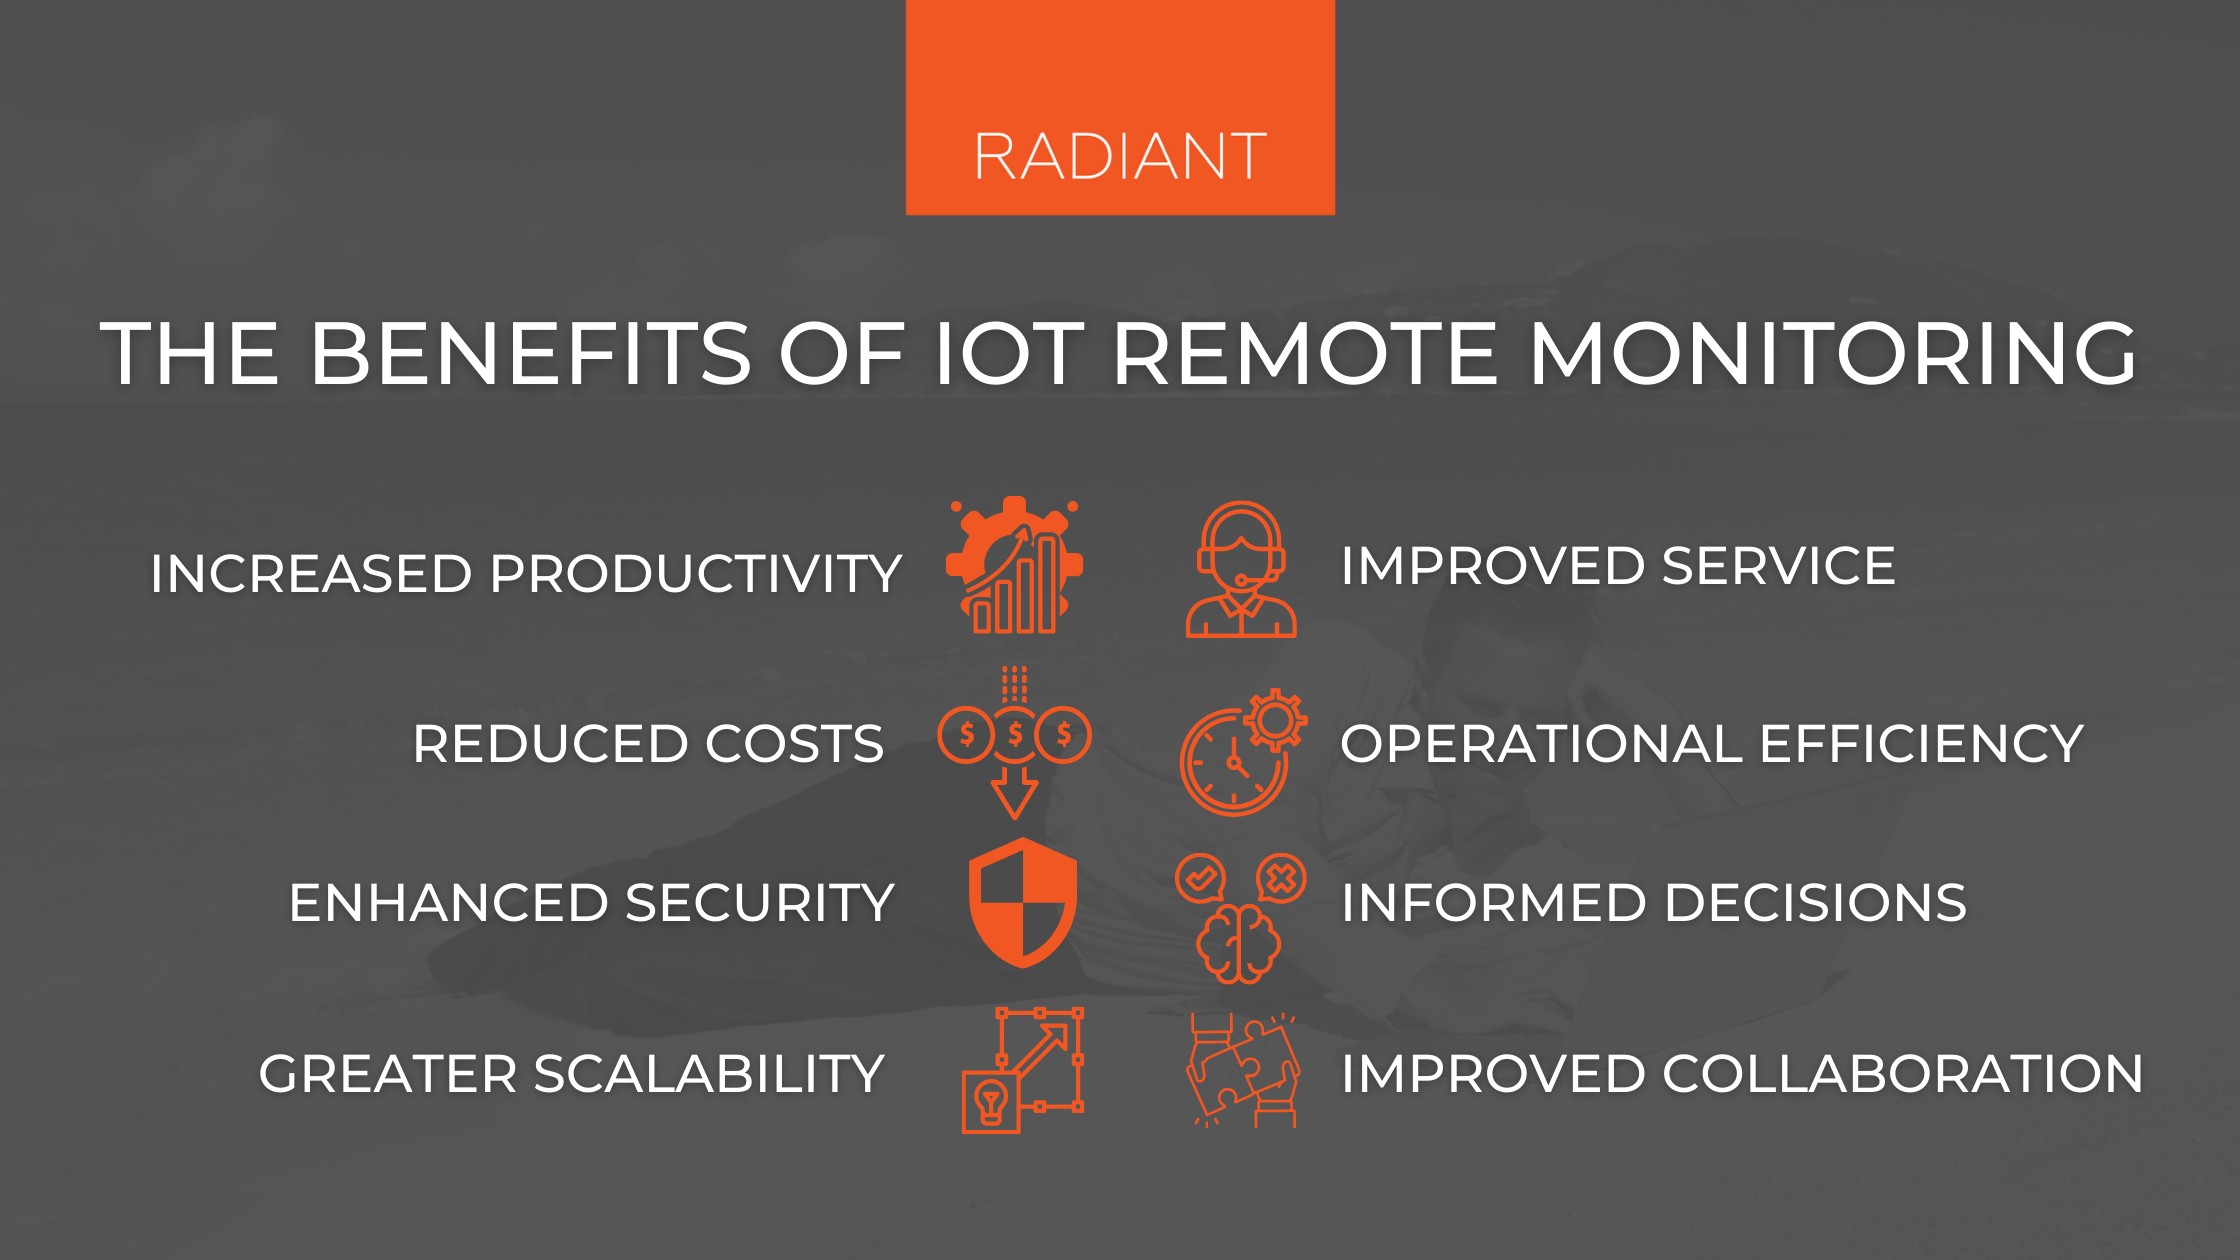
The benefits of using SSH for remote IoT monitoring are manifold. It provides a secure, reliable means to connect to your devices, execute commands, and transfer files. This is particularly important in an environment where the security of your devices is paramount. Furthermore, the widespread availability of SSH clients and servers on various operating systems, including macOS, makes it a versatile choice. With a little configuration, you can establish a secure connection to your IoT devices, allowing you to manage them remotely, troubleshoot issues, and update firmware.
The good news is that you don't need to break the bank to get started. There are plenty of free, open-source tools available for both downloading and utilizing SSH on your Mac. These tools offer a robust set of features that allow you to create secure connections, execute commands, and monitor your devices without incurring any cost. This accessibility is particularly beneficial for individuals, small businesses, and developers who are exploring the world of remote IoT monitoring.
The RemoteIoT platform, for instance, offers a seamless solution for downloading and setting up SSH for free, streamlining your remote device management capabilities. This platform provides the tools and resources needed to securely connect to your devices and execute commands remotely, all while maintaining the highest level of security. This will be covered in depth further in this article.
- Durga Prasai Net Worth Unveiling The Wealth Of A Media Mogul
- Ssh Remote Iot Raspberry Pi Example Your Ultimate Guide To Secure Connections
The process involves several key steps. First, you'll need to ensure SSH is installed and enabled on your Mac. Most macOS systems come with SSH pre-installed, but you may need to enable it. Then, you'll need to configure your IoT devices to accept SSH connections. This will require setting up user accounts, configuring SSH keys, and possibly adjusting firewall rules. Next, you'll use an SSH client on your Mac to connect to your IoT devices. This typically involves providing the device's IP address, username, and password or using SSH keys for authentication. Once connected, you can execute commands, transfer files, and manage your devices remotely.
Here's a breakdown of the typical steps involved in setting up remote IoT monitoring with SSH:
- Enable SSH on your Mac: macOS typically has SSH enabled by default. Check in System Preferences > Sharing to confirm.
- Configure your IoT devices: Ensure they have SSH installed and configured to accept connections.
- Set up SSH keys (recommended): For enhanced security, use SSH keys instead of passwords.
- Determine your IoT Device's IP Address: You'll need this to connect.
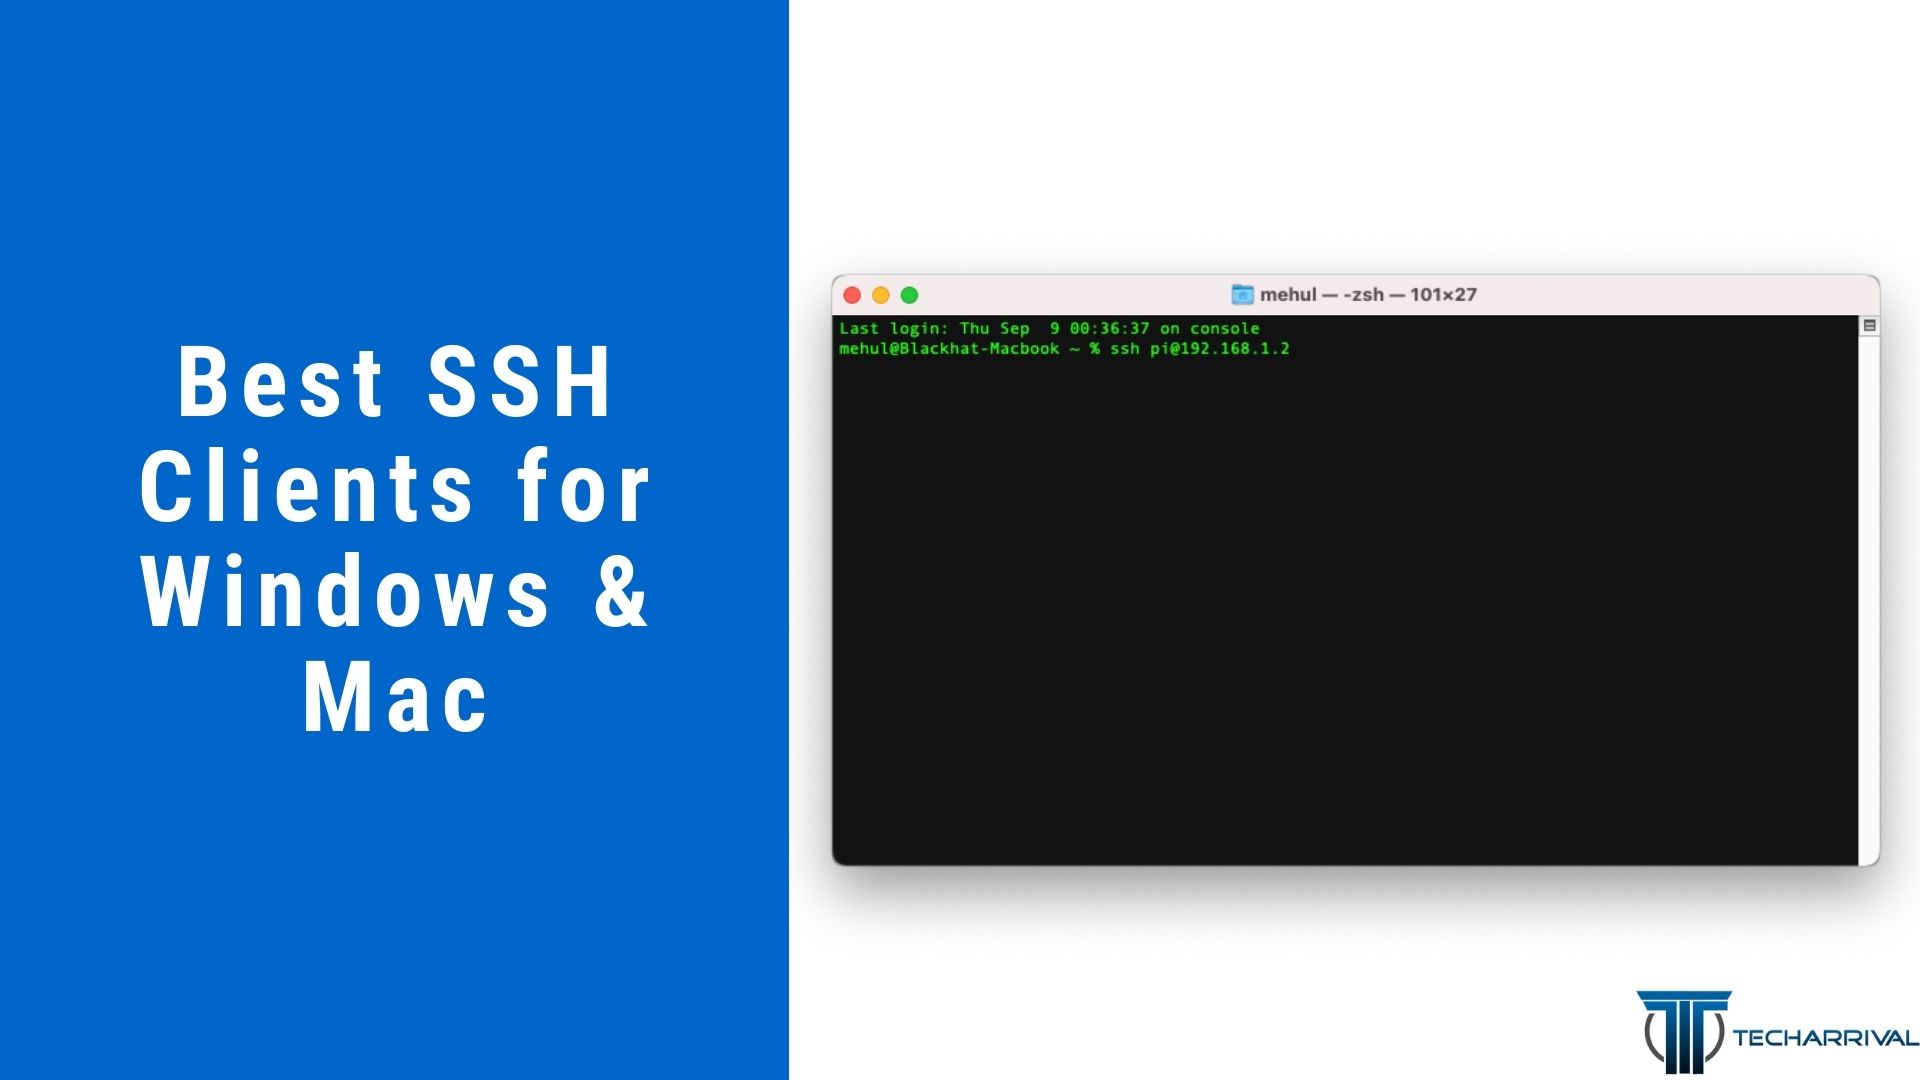
- Use an SSH client: Open Terminal (built into macOS) or use a dedicated SSH client (e.g., iTerm2).
- Connect: Use the `ssh user@device_ip_address` command, replacing 'user' with your username and 'device_ip_address' with your device's IP address.
- Authenticate: Enter your password or use your SSH key.
- Manage your device: Once connected, you can execute commands, transfer files, and monitor your IoT device.
One of the crucial aspects of securing your remote IoT devices is proper SSH key management. Default SSH key management can be fragmented and complex, leaving the keys vulnerable to malicious attacks. Fortunately, platforms such as RemoteIoT offer comprehensive SSH key management solutions, which allow you to centrally manage and discover all authentication keys and login files.
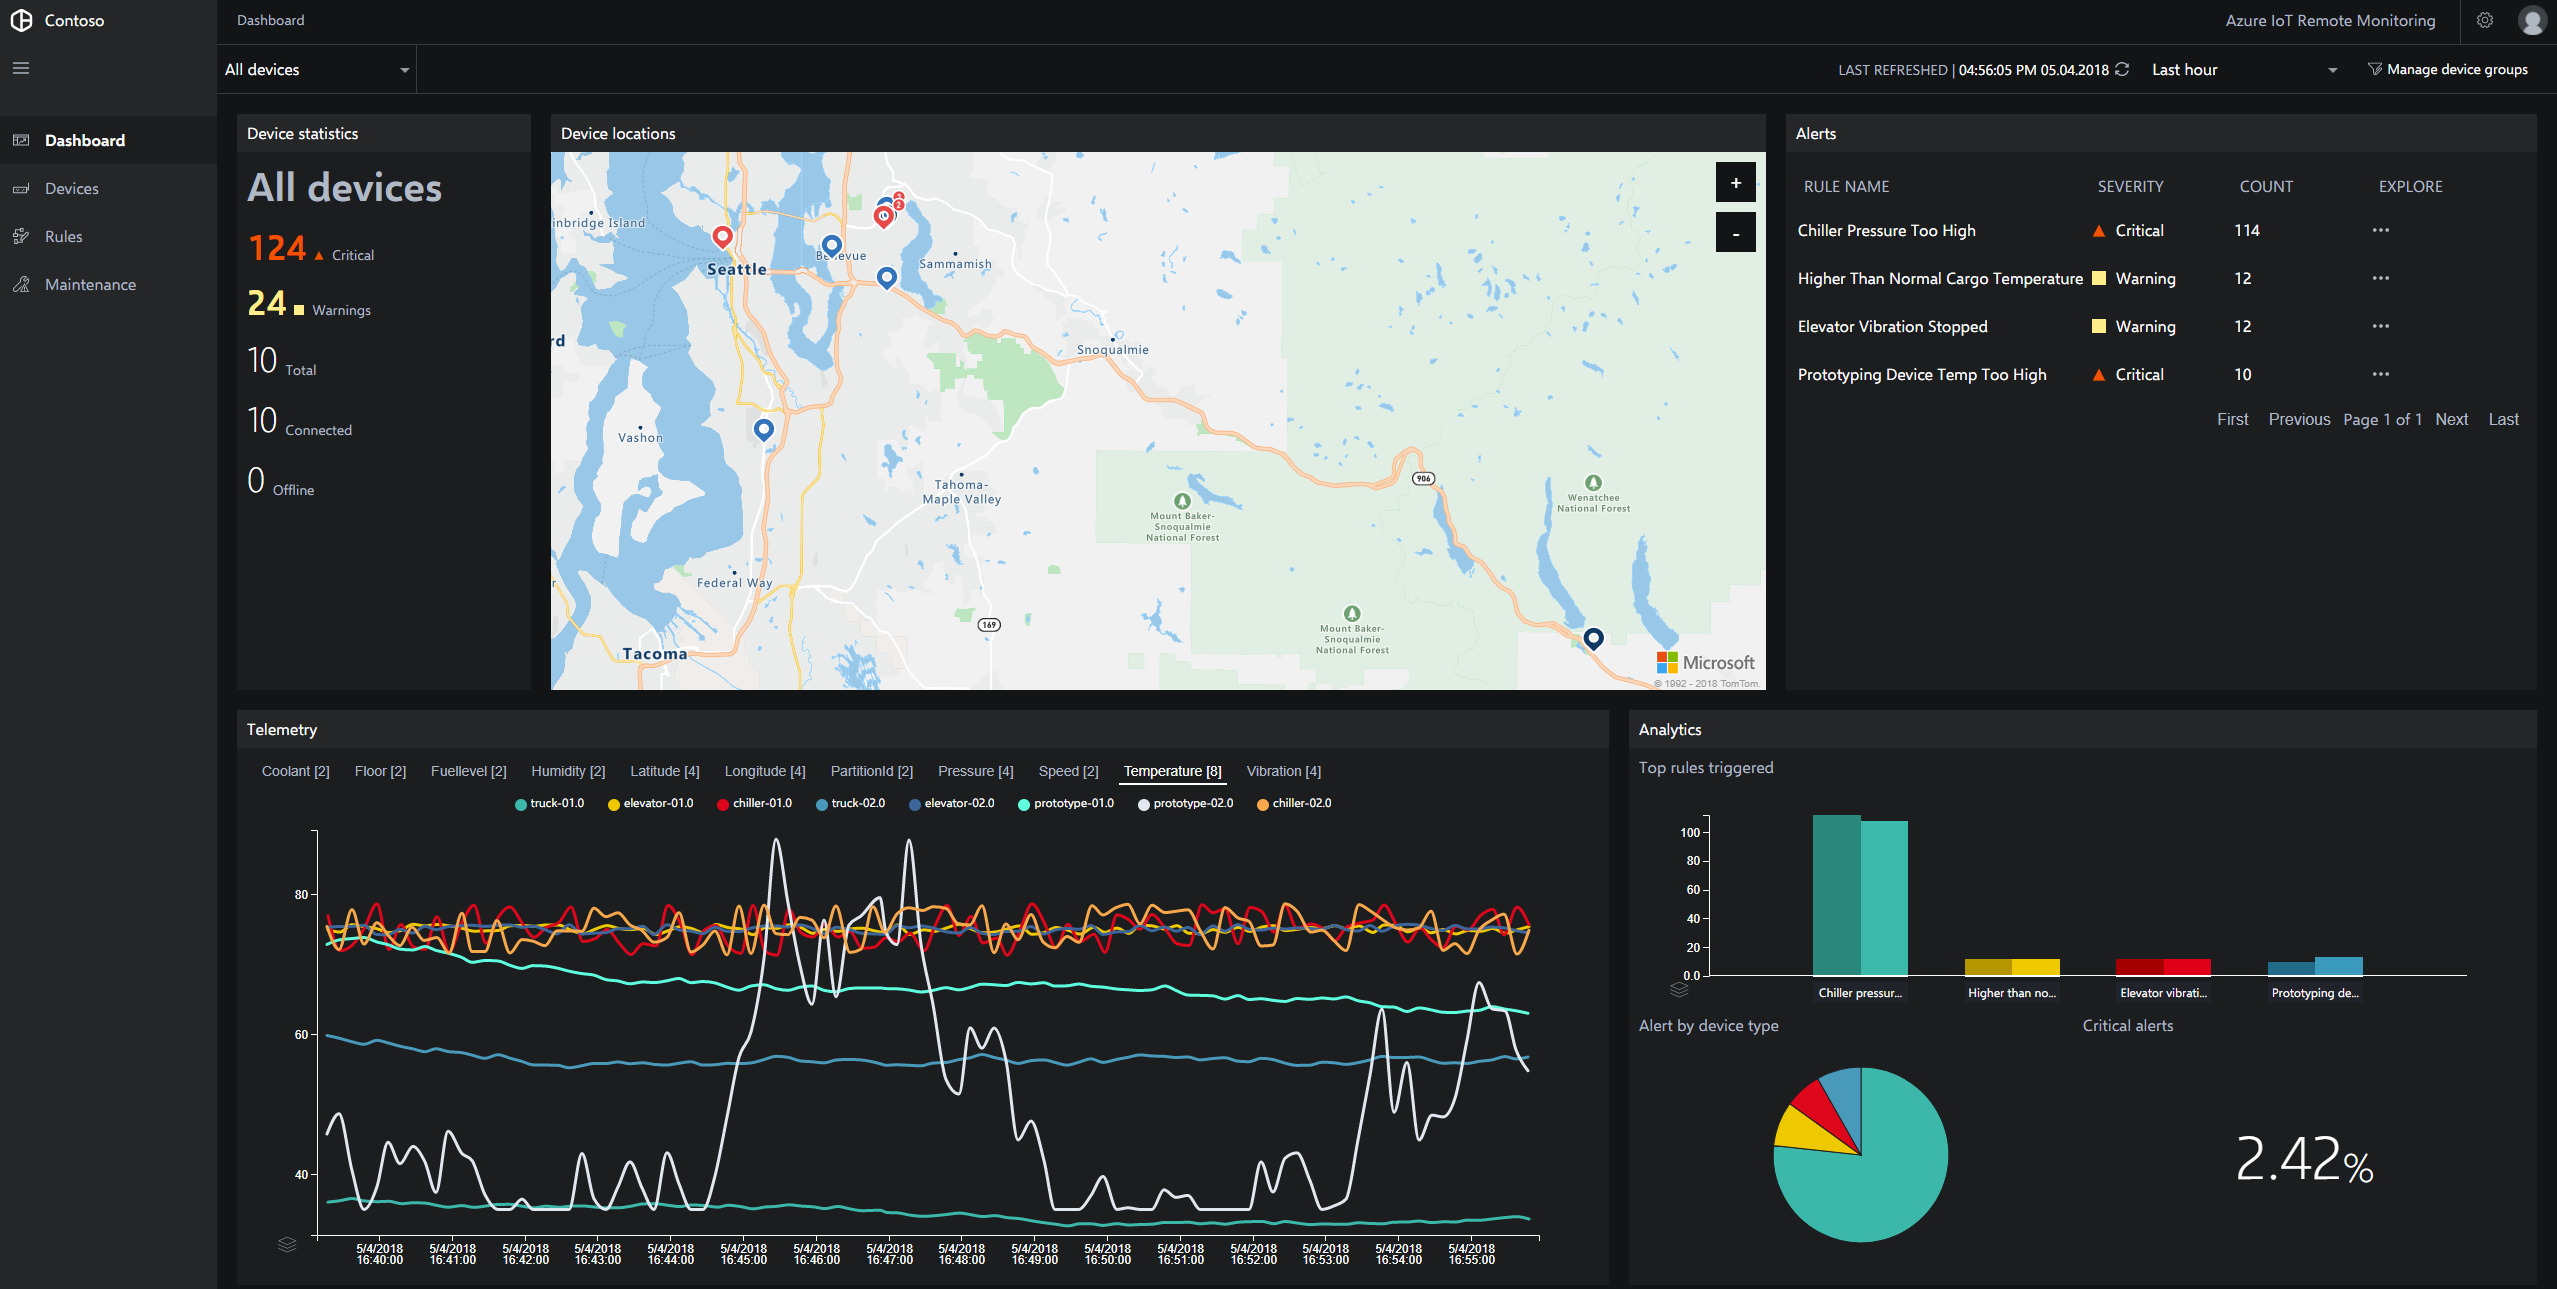
Remember, as the use of remote access grows, it is crucial to maintain and monitor IoT activity in real-time to ensure safe use. This is especially important in a business setting, where ensuring the security and operability of your IoT devices is of utmost importance.
In the subsequent sections, we will delve deep into the practical aspects of setting up and using SSH for remote IoT monitoring on your Mac. We will cover downloading and configuring SSH tools, including the best practices for secure connections, along with addressing common challenges and troubleshooting tips. By the end of this guide, you will be well-equipped to manage and secure your connected devices effectively.
Let's take a moment to highlight one particular platform: SocketXP. SocketXP is a cloud-based IoT device management and remote access platform. With SocketXP, you can remotely manage, access, and monitor your IoT devices, Raspberry Pi fleets, or any Linux machines behind a NAT router and firewall. This kind of platform makes the process of establishing a connection to your devices extremely easy.
The guide is designed for both seasoned professionals and beginners. Whether you're a seasoned network administrator or a hobbyist just starting with IoT, the information within will empower you to take control of your connected devices. Now, let's explore the details, beginning with the essential step of downloading and setting up the necessary tools.
For those starting this journey, it is useful to be aware of some of the basic tools available. If you are a macOS user, your computer is already equipped with a Terminal application. This is your gateway to the command line and the simplest way to connect via SSH. Additionally, you can choose from a number of third-party terminal applications such as iTerm2, which provides added features and customizability. The focus here is on usability and the secure connection of your devices.
The use of SSH keys instead of passwords is highly recommended to enhance security. Setting up SSH keys involves generating a key pair (a public key and a private key) and then securely adding the public key to your IoT devices. When connecting, you'll use your private key to authenticate, providing a more secure alternative to password-based login.
Here is a table that outlines the key advantages of using SSH for remote IoT monitoring:
| Advantage | Description |
|---|---|
| Secure Communication | SSH encrypts all data transmitted, including user authentication, ensuring confidentiality and integrity. |
| Remote Access | Enables you to access and manage your IoT devices from anywhere with an internet connection. |
| Command Execution | Allows you to execute commands on your devices remotely, such as updating firmware, managing files, and configuring settings. |
| File Transfer | Supports secure file transfer (using SCP or SFTP) for uploading and downloading files to and from your devices. |
| Widespread Availability | SSH clients and servers are available on various operating systems, including macOS, Linux, and Windows. |
| Cost-Effective | Free and open-source SSH tools are readily available, making it an accessible solution. |
| Key Management | Improved key management solutions like RemoteIoT help centralize and secure your SSH keys |
With these key advantages in mind, lets examine the practical steps of installing and configuring SSH. As previously mentioned, macOS typically comes with an SSH client pre-installed. You can easily use the Terminal application to connect to your IoT devices. To enable it, navigate to System Preferences > Sharing and ensure 'Remote Login' is checked.
Heres how to perform a basic SSH connection through the Terminal, assuming you have the devices IP address and login credentials:
- Open Terminal on your Mac.
- Type the following command, replacing `username` with your user account on the IoT device and `device_ip_address` with the devices IP address: `ssh username@device_ip_address`
- If connecting for the first time, you might be asked to confirm the authenticity of the host. Type `yes` and press Enter.
- Enter the password for your user account on the IoT device.
- You should now have a secure connection to your IoT device and can execute commands.
For more advanced configuration, consider using SSH keys, as these eliminate the need for typing in a password every time. Here is how to generate an SSH key pair on your Mac:
- Open Terminal.
- Type `ssh-keygen` and press Enter. You can usually accept the default settings (just press Enter through the prompts). This will generate a private and a public key in your `.ssh` directory in your home folder.
- Copy the contents of your public key (usually `~/.ssh/id_rsa.pub`) to the `authorized_keys` file on your IoT device, which will typically be located in `~/.ssh/authorized_keys`.
- Now, when you SSH to your device, you will authenticate via your SSH key.
If you are using a dedicated SSH client, such as iTerm2, you can typically configure your SSH keys within the clients settings. This may include providing the path to your private key file.
Regardless of the method used, ensuring that your SSH connection is secure is of utmost importance. This means not only using SSH keys, but also regularly updating your devices, disabling password login if possible, and using strong passwords. The security of your devices is only as strong as the weakest link, so paying close attention to all possible vulnerabilities is essential.
In a business setting, remote access is vital for maintaining and monitoring IoT activity in real-time to ensure safe usage. A robust remote monitoring system that utilizes SSH on Mac is essential to business productivity, while also ensuring security is prioritized. SSH helps to provide secure and reliable remote monitoring for the devices that are integrated within your business.
One of the essential aspects of successful remote IoT monitoring is knowing what you want to monitor. This includes device status, network performance, and the data the device is producing. SSH grants you access to all this information. By knowing what to monitor, you can quickly recognize anomalies and prevent problems.
Furthermore, remember that the choice of SSH tools for your Mac and IoT devices does not limit your options. You can seamlessly download remoteiot monitoring ssh for Mac for free, making it an accessible option for anyone looking to enhance their remote device management capabilities. Regardless of your experience, there are many tools out there to ensure that you are able to achieve what you set out to.
In conclusion, taking advantage of SSH for remote IoT monitoring on a Mac is a practical and cost-effective solution. SSH's security features combined with its ease of use, make it a valuable tool for remotely managing and securing your connected devices. Whether you're a professional managing numerous devices or a hobbyist tinkering with your home automation system, SSH provides the access and control you need.
By now, you should have a solid understanding of the core concepts. You're well-prepared to explore the world of remote IoT monitoring, download the necessary tools, and set up secure SSH connections to your devices.
Detail Author:
- Name : Jimmy Jerde
- Username : hollie.hoeger
- Email : ywehner@donnelly.com
- Birthdate : 2005-03-20
- Address : 5915 Bins Extension Suite 098 Maymieton, NE 33999
- Phone : 229-585-0479
- Company : Schaefer-Von
- Job : Valve Repairer OR Regulator Repairer
- Bio : A repellat consequatur et qui alias. Recusandae rerum dolore asperiores ab. Unde et accusamus atque eum et ab excepturi. Ducimus ea accusamus eum quod.
Socials
facebook:
- url : https://facebook.com/zorablock
- username : zorablock
- bio : Et eaque debitis est dolor aut est. Quia eum et voluptas optio veniam.
- followers : 6364
- following : 1278
linkedin:
- url : https://linkedin.com/in/zora_block
- username : zora_block
- bio : Minima saepe asperiores quia ad cum.
- followers : 4467
- following : 2447
twitter:
- url : https://twitter.com/zora_block
- username : zora_block
- bio : Temporibus a eos nisi sint id. Suscipit repudiandae dignissimos tempora accusamus.
- followers : 771
- following : 2647
instagram:
- url : https://instagram.com/zora_xx
- username : zora_xx
- bio : Omnis minus aliquid modi eum dolorem. Sed neque tempore quo dolorem.
- followers : 5621
- following : 845
